Now Reading: Top Rated Meta Quest 3 Skins
-
01
Top Rated Meta Quest 3 Skins


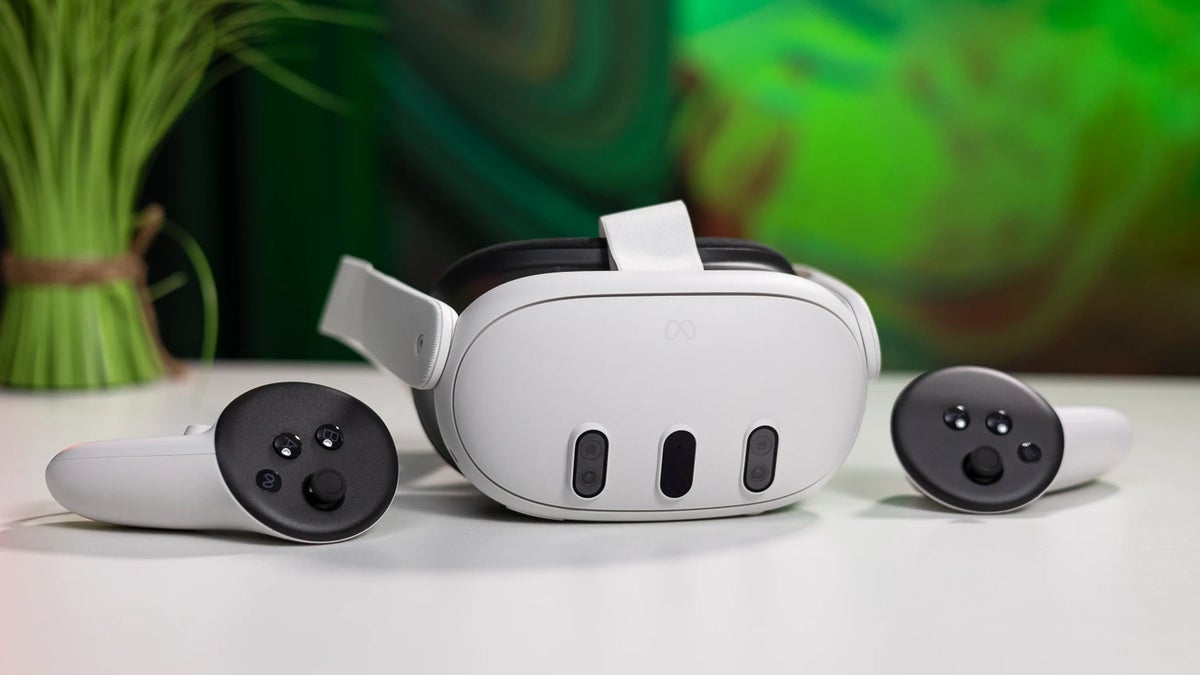
Ever looked at your Meta Quest 3 and thought, “This thing could use a little personality”?
You’re not alone. While the Quest 3 is a powerhouse for VR, let’s be real—it looks pretty standard out of the box. And if you’re using it regularly, it’s only a matter of time before it picks up a few scratches or smudges.
That’s where skins come in. Think of them as a cool outfit for your VR headset. Whether you want sleek and minimal or loud and creative, there’s a skin that fits your style. Bonus? It also keeps your headset protected.
In this guide, we’re diving into everything you need to know about Meta Quest 3 skins—what they are, why people love them, and where to get the best ones. Let’s get into it!
What Are Meta Quest 3 Skins?
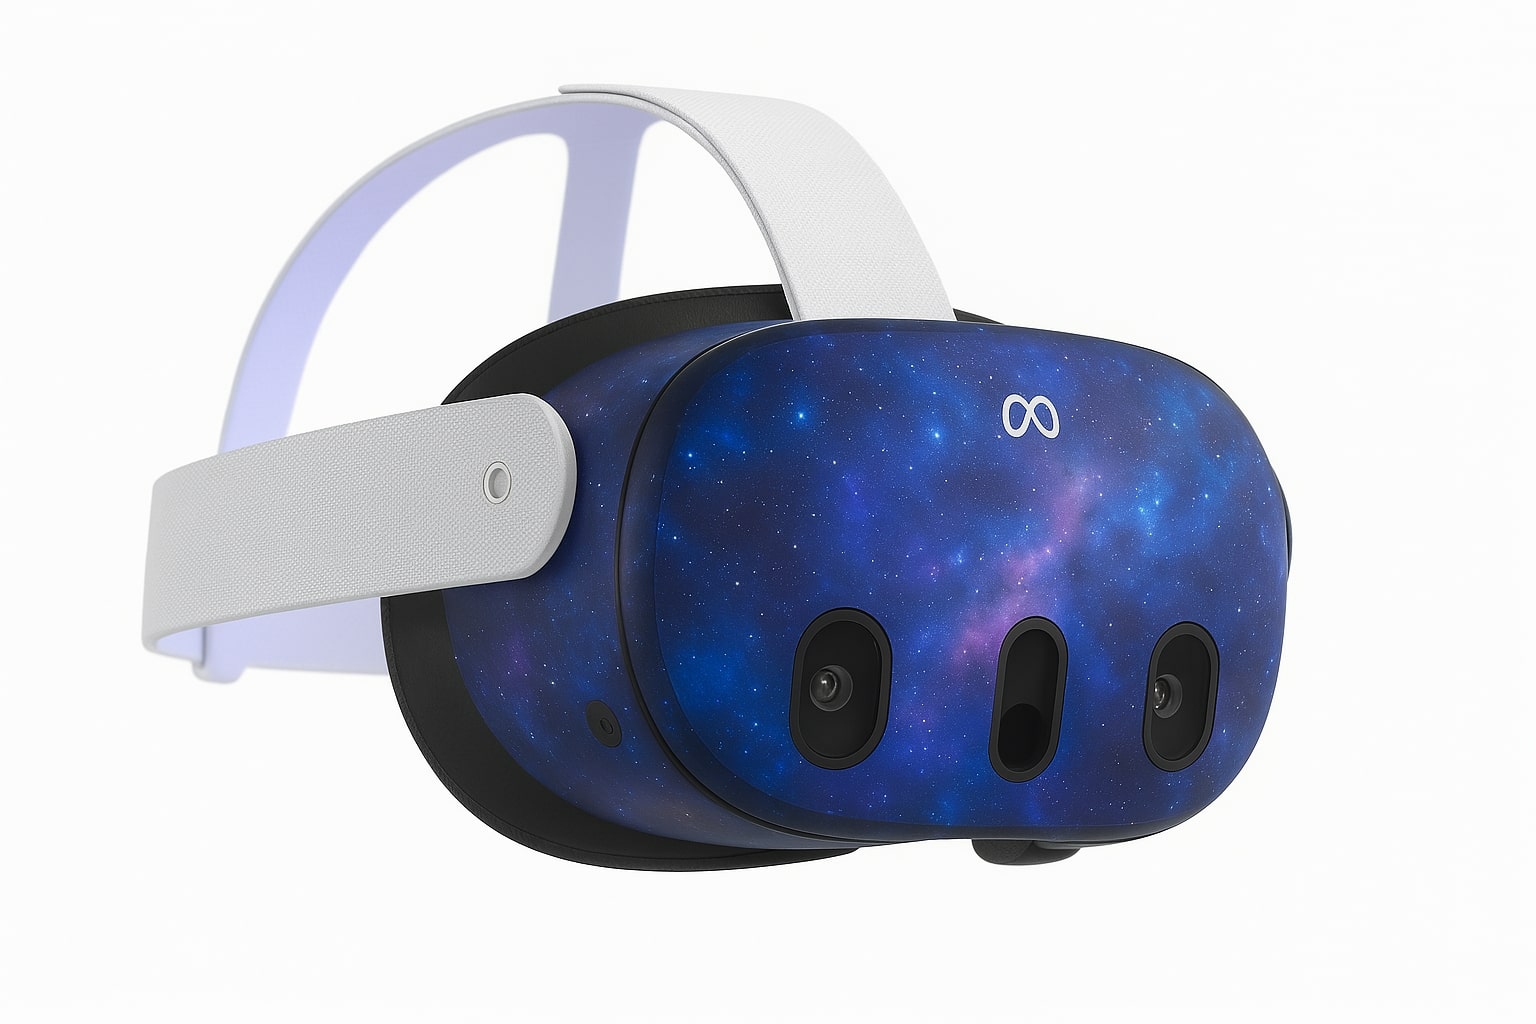
Meta Quest 3 skins are basically vinyl wraps designed to stick onto your headset and give it a brand-new look—without changing anything on the inside.
Think of it like a phone case, but for your VR headset—just way sleeker and more personalized
They come in all kinds of styles: matte, glossy, textured, patterned, themed—you name it. You just peel, stick, and smooth them onto your Quest 3. No tools, no drama. And when you’re ready for a new look? Just peel it off. No sticky mess, no damage.
Also, just to be clear—skins aren’t bulky cases or protective covers. They don’t add weight or change how the headset feels on your face.
They’re purely for looks and light protection against things like scratches and smudges.
Whether you’re into bold designs, clean aesthetics, or something totally custom, there’s a skin out there that can turn your Quest 3 into your Quest 3.
Benefits of Using Skins for Meta Quest 3
So, why even bother putting a skin on your Quest 3? Here’s why people are loving them:
1. Make It Yours
Let’s be honest—everyone’s headset looks the same out of the box. A skin is the easiest way to give yours a unique vibe. Want a sleek blacked-out look? Or maybe a neon, glitchy, cyberpunk design? Go wild. Your headset, your rules.
2. Light Protection
No, it won’t save your Quest 3 if it hits the floor—but it will save it from everyday stuff like scratches, fingerprint smudges, or scuffs from setting it down too quickly. A little peace of mind never hurts.
3. Better Grip
Some skins have a textured finish that adds a bit of grip. That might sound small, but when you’re mid-game, sweaty, and flailing around—yeah, you’ll appreciate the extra hold.
4. Quick Refresh
Got bored of the look? Want a seasonal style? Skins are removable and replaceable, so you can switch things up whenever you like—without committing to one design forever.
5. Great for Events or Branding
If you’re a content creator, hosting VR events, or showcasing your headset in public, a custom skin adds a professional touch. Match it to your brand colors or logo—easy win.
4. Popular Types of Skins Available


5. Best Places to Buy Meta Quest 3 Skins
1. Dbrand
If you’ve ever searched for tech skins, Dbrand probably popped up. They’re known for precision cuts, premium materials, and slick branding. Their Quest 3 skins come in a bunch of clean finishes—matte black, carbon fiber, titanium, you name it.
✅ High-quality vinyl
✅ Great fit
✅ A little pricey, but worth it
2. MightySkins
Want variety? MightySkins has tons of designs—everything from galaxy prints to wild patterns to custom uploads. If you want to stand out or personalize your headset fully, this is your playground.
✅ Affordable
✅ Massive design library
✅ Offers custom design option
3. Slickwraps
Slickwraps mixes quality with style. Their Quest 3 lineup includes cool textures and vibrant colors, and they often have bundle deals.
✅ Textured options available
✅ Decent pricing
✅ Occasional shipping delays (based on user reviews)
4. Etsy
Etsy is perfect if you’re looking for handmade or truly unique skins. Many creators offer one-of-a-kind designs, and some let you request custom artwork.
✅ Great for custom designs
✅ Support small sellers
✅ Quality may vary by seller—check reviews
Good old Amazon has plenty of options, from branded skins to budget-friendly ones. It’s ideal if you want fast shipping and lots of customer reviews to browse.
✅ Quick delivery
✅ Easy returns
✅ Quality range is wide—read reviews carefully
6. How to Apply a Skin on Your Meta Quest 3
Applying a skin might sound tricky—but it’s actually pretty easy if you go slow and follow a few simple steps. Here’s how to do it right:
Step 1: Clean Your Headset
Use a soft, lint-free cloth to wipe down your Quest 3. Make sure there’s no dust, oil, or fingerprints—skins stick best to clean surfaces. A bit of rubbing alcohol on the cloth helps if the headset’s been used a lot.
Step 2: Line It Up First
Before peeling anything off, hold the skin over the surface to see how it lines up. Most skins are cut very precisely, so you want to be sure everything will fit right before committing.
Step 3: Peel and Stick—Slowly
Start with one section at a time. Peel off the backing slowly and line up the edges carefully. Use your fingers to press it down gently as you go—no need to rush.
Step 4: Smooth Out Bubbles
Got air bubbles? Use a credit card, your finger, or a small squeegee to gently push them out to the edges. If you mess up, most high-quality skins let you lift and re-stick a section once or twice.
Step 5: Use a Hair Dryer (Optional but Helpful)
For curved areas, a little heat can help the skin stretch and fit better. A quick blast from a hair dryer (low heat!) makes the vinyl more flexible and helps it stay put.
Step 6: Take Your Time
Seriously—there’s no rush. The more careful you are, the better it’ll look. It’s worth the few extra minutes.
And that’s it! You’ve got a fresh new look for your Quest 3—and probably a bit of extra protection, too.
Things to Consider Before Buying a Skin
Before you hit that “Buy Now” button, here are a few things to keep in mind so you don’t end up with a skin that looks cool in photos but doesn’t work for you.
1. Compatibility with Accessories
Using an Elite Strap or a charging dock? Some skins might cover areas that clip into these accessories. Check if the skin is designed to work around your setup—or if you’ll need to trim it slightly.
2. Material Quality
Not all vinyl is created equal. Cheaper skins can fade, peel, or leave sticky residue behind. Stick with well-reviewed sellers that use high-quality 3M or similar materials—it makes a big difference in look and lifespan.
3. Texture and Feel
Some people love the smooth matte finish. Others prefer textured grips. Think about how you use your headset—if you tend to get sweaty hands or play active games, a grippy texture might help.
4. Ease of Application
If you’re not the most patient person, look for brands known for easy application. Some even include tools like a squeegee or guide tabs to make it smoother.
5. Removability
Plan to change the look later? Make sure the skin peels off clean without leaving residue. Most premium skins do, but it’s always good to double-check before applying something you might want to take off later.
6. Return or Exchange Policy
Things happen—you get the wrong size, or the design doesn’t look how you expected. Look for a seller that offers returns or exchanges just in case.
These little details can make the difference between a great skin experience and a frustrating one. Take a few minutes to review before you buy—it’s worth it.
Alternatives to Skins
Skins are great—but they’re not the only way to personalize or protect your Meta Quest 3. If you’re not sure skins are your thing, here are a few solid alternatives:
1. Silicone Covers
These are flexible, rubbery sleeves that slide over your headset.
Pros: Super easy to put on and take off. Great for grip and shock absorption.
Cons: Can add a bit of bulk and may not fit with all charging docks or straps.
2. Hard Shell Cases
Think of these like armor for your Quest 3. They snap on and provide solid protection from bumps and drops.
Pros: Maximum protection. Some even come in cool colors or patterns.
Cons: Bulkier. Not great if you’re trying to keep your headset lightweight.
3. Decals and Stickers
These are like mini skins—just smaller, simpler designs or logos you can stick on specific parts.
Pros: Super affordable, easy to apply, and fun to collect.
Cons: Limited coverage, more for flair than full customization.
4. Headstrap Accessories
You can also add personality through custom headstraps. Some come in bright colors or with branding to match your style.
Pros: Functional and stylish.
Cons: Doesn’t change the look of the main headset body.
Whether you go for a skin or one of these options, it all comes down to your style, how much protection you want, and how much you’re willing to spend.
Conclusion
At the end of the day, your Meta Quest 3 is more than just a headset—it’s your window into all kinds of virtual worlds.
So why not make it feel more like yours?
Skins are an easy, affordable way to add personality, protect your device, and switch up your look whenever you want. Whether you’re into sleek and minimal, wild and colorful, or something totally custom, there’s a skin out there waiting for you.
So go ahead—give your Quest 3 a little glow-up.
Got a favorite design in mind? Or already rocking a custom skin? Drop your thoughts in the comments—I’d love to hear how you’ve made your headset your own.
FAQ: Meta Quest 3 Skins
1. Are Meta Quest 2 and Meta Quest 3 skins the same?
Nope. The shape and dimensions of the Quest 3 are different from the Quest 2, so skins made for one won’t fit the other. Make sure the skin is specifically labeled for the Meta Quest 3 before buying.
2. Do skins affect performance or tracking?
Not at all. High-quality skins are designed to stay clear of the cameras and sensors, so they won’t interfere with tracking, heat dissipation, or how the headset works.
3. Can I remove a skin without damaging my headset?
Yes! Most skins use adhesive that’s strong enough to stay put but gentle enough to peel off cleanly—no sticky mess or residue left behind. Just go slow when removing.
4. Can I reapply a skin after removing it?
Technically, you can, but it’s not ideal. Once removed, the adhesive won’t be as strong, and you might not get a clean finish. If you’re changing skins often, consider buying extras or testing a reusable cover.
5. Will a skin fit with other accessories like straps or face covers?
Most do, but it depends on the accessory and how the skin is cut. Some skins are made to leave space around common add-ons, but double-check the product listing or reviews to be sure.
6. How long do skins usually last?
With normal use, a good-quality skin can last several months to a couple of years. It depends on how often you handle your headset and how well you take care of it.
Related Posts


Previous Post
Next Post
Previous Post
Next Post
Recent Posts
- VR Games Showcase Summer 2025 – Biggest Quest, PSVR 2 & SteamVR Reveals
- Sharp’s Hybrid VR Glove Merges Haptics With Classic Control
- Why VR Needs More Competition & Innovation, According to Ready At Dawn’s Co-Founder
- Le Mans Ultimate Enters Full Release On PC VR
- The Pirate Republic of Nassau Review – Is This the Ultimate Pirate VR Game?