Now Reading: How to Transfer Files to Meta Quest 3 from Mac (Step-by-Step Guide)
-
01
How to Transfer Files to Meta Quest 3 from Mac (Step-by-Step Guide)


How to Transfer Files to Meta Quest 3 from Mac (Step-by-Step Guide)
![]() BestVRHeasetAR2 months ago73 Views
BestVRHeasetAR2 months ago73 Views


Got a Mac and a Meta Quest 3? You’re probably wondering — how on earth do I move my files over? Unlike Windows users, Mac users don’t get a straightforward “drag and drop” experience.
But don’t worry — transferring files to your Quest 3 from a Mac is way easier than it sounds.
Whether you want to load custom VR videos, install apps, or simply organize your media, moving files is essential to truly unlocking the full potential of your headset.
Especially with the powerful upgrades that Meta Quest 3 brings compared to earlier versions, keeping your device stocked with fresh content makes your experience even better.
The best part? You don’t need any complicated hacks.
With a simple free tool and a few quick clicks, you’ll be moving files like a pro — making it as seamless as using external storage options for Quest 3.
Plus, I’ll even show you how to avoid messy wires if you prefer wireless transfers.
Let’s dive into the easiest, fastest methods to transfer your favorite files to Meta Quest 3 from your Mac. Follow the steps below — and you’ll be ready to enjoy your personalized VR experience in no time.
What You’ll Need
Before you start transferring files to your Meta Quest 3, make sure you have the right setup.
Trust me, having everything ready will make the process smooth and frustration-free — just like picking the right wireless or wired VR headset for your needs.
Here’s your quick checklist:
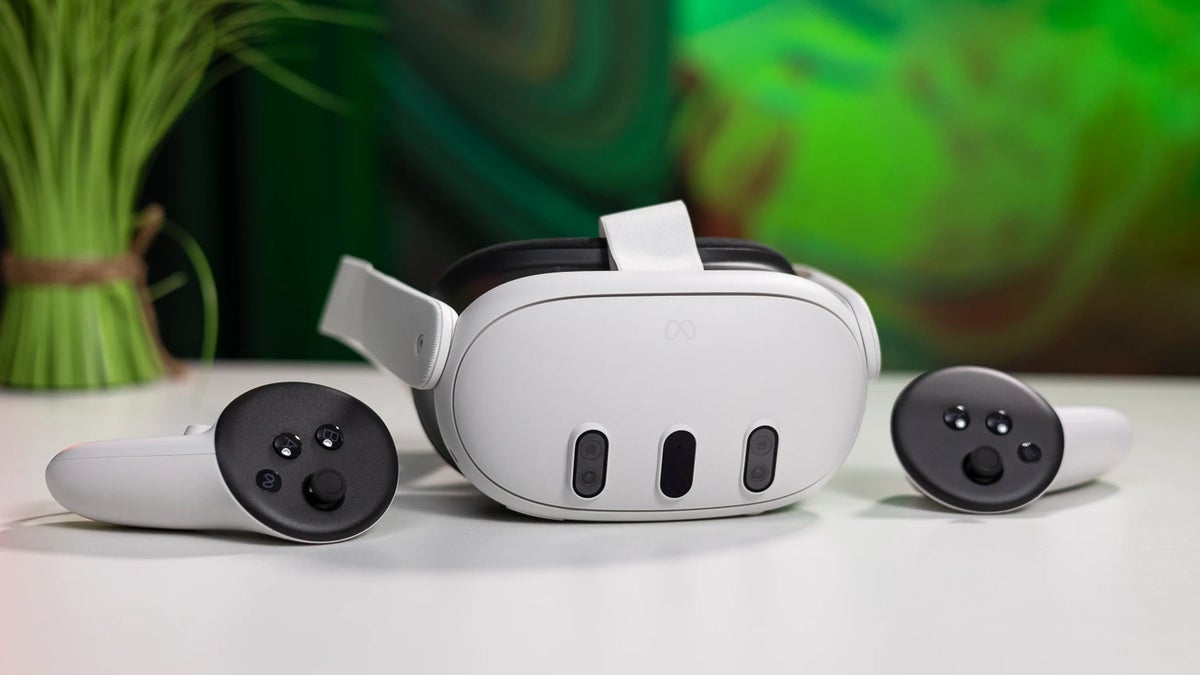
Meta Quest 3 headset: Fully charged or connected to power.
Mac computer: iMac, MacBook Pro, MacBook Air — anything running macOS will do.
USB-C cable: The one that came with your Quest 3 is perfect. If your Mac only has USB-A ports, you’ll need a USB-C to USB-A adapter.
Android File Transfer app: This free tool is essential because macOS doesn’t natively recognize Android file systems (and yes, Quest 3 uses Android under the hood).
(Optional) Cloud Storage Access: Services like Google Drive or Dropbox if you prefer wireless file transfers.
Pro Tip:
If you’re planning to load a lot of videos or games onto your Quest 3, you might want to explore external storage options for Meta Quest. It’s a game-changer if you’re running out of space!
Once you’ve got these ready, you’re all set to move on to installing the necessary tool and connecting your Quest 3 to your Mac.
Install Android File Transfer on Your Mac
Before you can move any files to your Meta Quest 3, there’s one quick setup step you can’t skip: installing Android File Transfer.
It’s lightweight, free, and basically acts like a bridge between your Mac and your headset.
Why Android File Transfer?
Unlike Windows PCs, Macs don’t naturally play nice with Android devices — including the Meta Quest 3. Without a special tool, your Mac simply won’t recognize the Quest’s storage.
Android File Transfer solves this by letting you browse your headset’s folders easily, just like you would browse any external drive.
How to Install Android File Transfer
Download the app
Go to Android File Transfer’s official website and click “Download Now.”
Install it
Open the downloaded
.dmgfile.Drag the Android File Transfer app into your Applications folder.
(Optional but Recommended)
Add it to your Dock for quicker access later.
Quick Tip:
Since you’re setting up your Quest 3 properly, you might also want to explore how it compares to other standalone VR headsets.
Trust me, the Meta Quest 3 holds its ground really well!
Common Installation Issues (and Easy Fixes)
App won’t open?
Go to System Settings → Privacy & Security and allow apps downloaded from “App Store and identified developers.”Android File Transfer closes instantly?
Sometimes other apps (like Samsung Smart Switch) can cause conflicts. Uninstall any other Android-related transfer apps you don’t need.
Once installed, Android File Transfer will auto-launch every time you connect your Quest 3. Easy, right?
Connect Your Meta Quest 3 to Mac
Alright — you’ve got Android File Transfer installed. Now, it’s time to physically hook up your Meta Quest 3 to your Mac and get them talking.
It’s a simple process, but if you skip even a small step, your Mac might not recognize the headset. So here’s exactly what to do:
Step-by-Step: Connect and Authorize
Plug in your Meta Quest 3
Use your USB-C cable and connect the headset to your Mac.
If your Mac doesn’t have a USB-C port, use a USB-A to USB-C adapter.
Look inside your headset
Put on the Quest 3 briefly.
You’ll see a pop-up message:
“Allow access to data?”
👉 Click “Allow” — otherwise, your Mac won’t be able to access anything.
Launch Android File Transfer
It should open automatically.
If it doesn’t, manually open the app from your Applications folder.
Explore Your Quest 3 Files
You’ll now see folders like
Download,Movies,Music,Oculus, and more.These are the areas where you can copy your files!
Note:
If you’re curious about the storage structure or planning to expand it, you might want to check out external storage options for Meta Quest 3. Upgrading storage can make your file transfers even smoother and future-proof your setup!
If Your Mac Doesn’t Recognize Quest 3
Don’t panic — it happens sometimes.
Here’s a quick checklist to troubleshoot:
Check the cable: Not all cables support data transfer! Always use the official Quest cable or another data-capableUSB-C cable.
Reboot your Quest 3 and Mac: Simple but surprisingly effective.
Try a different port or adapter: Sometimes ports are picky, especially on older Macs.
Ensure “Developer Mode” isn’t interfering: Some users with Developer Mode on their Quest might need to allow file transfer explicitly.
Transfer Your Files
You’ve connected your Meta Quest 3 to your Mac — now it’s time to move your content and truly make the headset your own.
Whether it’s VR videos, music, 360° experiences, or even app data, transferring files is as easy as dragging and dropping once you’re inside the Android File Transfer window.
How to Move Files to Your Meta Quest 3
Open Android File Transfer (if it’s not open already).
You’ll see a simple file browser showing your Quest’s folders.Pick the right folder based on what you’re transferring:
Movies or VR videos → Place them inside the
MoviesorDownloadfolder.Music or Audio → Drop them inside the
Musicfolder.Custom Apps or Side-loaded Content → You’ll typically use the
Downloadfolder unless the app documentation specifies otherwise.
Drag and Drop
Simply drag the file(s) from your Mac’s Finder window into the Android File Transfer window.
Wait until the copy is finished — larger files might take a few minutes.
Safely Eject Your Quest 3
Always eject your Quest 3 from Finder before unplugging it to avoid file corruption.
Tip for VR Video Fans:
If you’re transferring 360° or 180° VR videos, remember — your experience will be even better if you explore some of the best full-body tracking VR options available today. It takes immersion to a whole new level!
Recommended Folder Layout
To keep things organized and easily accessible inside your headset, here’s a simple layout you can follow:
| Content Type | Recommended Folder |
|---|---|
| 360°/VR Videos | Movies or Download |
| MP3/Audio | Music |
| Custom Apps | Download |
| Images/Screenshots | Pictures |
Keeping your files cleanly sorted will make it easier to find and enjoy them later through your Quest 3’s file manager apps.
Alternative Methods to Transfer Files (Wireless Options)
Prefer to ditch the cables altogether?
You’re not alone — many Quest 3 users love the freedom of transferring files wirelessly. Luckily, there are a few solid ways to do that without needing a physical connection to your Mac.
Let’s explore your best options:
1. Use Cloud Storage Services
Cloud storage is one of the easiest and most Mac-friendly solutions.
Here’s how it works:
Upload your files to Google Drive, Dropbox, or OneDrive from your Mac.
Open the browser inside your Meta Quest 3 (use the built-in Browser app).
Visit the cloud storage site, log into your account, and download the files directly onto your headset.
✅ Tip:
For larger VR experiences or heavy games, having ample cloud storage can be a lifesaver, especially if you’re thinking about upgrading your Quest 3’s storage down the line.
2. Use SideQuest (Wireless Version)
If you’re a bit more adventurous, SideQuest is an amazing tool that lets you manage your Quest 3 wirelessly.
Install the SideQuest app on your Mac.
Connect your Meta Quest 3 to Wi-Fi and enable wireless ADB debugging.
From your Mac, you can wirelessly browse, upload, and organize files — no cable needed after the first setup!
Bonus:
SideQuest also opens up access to a ton of cool experimental apps and VR content, perfect for anyone who wants to push the limits beyond official stores.
(Just like understanding the evolution of VR headset technology, experimenting keeps you ahead!)
3. Wi-Fi Transfer Apps
There are some apps designed specifically to allow wireless transfers between devices on the same Wi-Fi network.
Examples:
CX File Explorer (available via SideQuest install)
FilePursuit Pro
Airdroid (Browser version)
How it works:
Install one of these apps inside your Quest 3.
Share a local IP address.
Use your Mac’s browser to upload files straight to your headset.
⚡ It’s faster than cloud sometimes, especially for large files!
Which Wireless Method Should You Use?
| Method | Best For | Ease of Use |
|---|---|---|
| Cloud Storage | Casual file moves (videos, images) | Very Easy |
| SideQuest Wireless | Power users, app sideloading | Moderate |
| Wi-Fi Transfer Apps | Quick transfers without cloud | Moderate |
Switching to wireless isn’t just about convenience — it’s about making your Quest 3 workflow smoother and more modern, similar to choosing between standalone and PC-powered VR headsets.
Freedom = better VR experience.
Common Issues and Troubleshooting
Even with the best setup, sometimes things don’t go smoothly the first time.
If your Mac isn’t recognizing the Meta Quest 3, or files aren’t transferring properly, don’t stress — these quick fixes usually solve the problem.
1. Meta Quest 3 Not Detected by Mac
Possible Causes & Fixes:
Did you click “Allow” inside your headset?
➔ Always check for the “Allow access to data?” popup and tap Allow inside the Quest 3 when you plug it in.Bad Cable?
➔ Not all USB-C cables support data transfer!
Use the official Quest cable or another high-quality USB-C data cable.Mac Port Issues?
➔ Try another USB port or adapter.
Some older ports or third-party adapters can fail to handle file transfer correctly.Android File Transfer Not Opening?
➔ Manually open it from Applications.
➔ Restart both your Mac and Quest if needed.
Pro Tip:
If you’re troubleshooting hardware issues a lot, it might be worth comparing setups like wireless vs wired VR headsets to see what fits your style better.
2. Files Not Showing Up Inside the Quest 3
Checklist:
Files must be placed in proper folders (
Movies,Download,Music, etc.).Some apps (like media players) might only detect files in specific folders — check their settings.
Restart your Meta Quest 3 after transferring — it refreshes the file database.
3. Transfer Fails or Cancels Midway
Possible Reasons:
Cable is loose or poor quality — always ensure a firm, secure connection.
File is too large — if you’re transferring huge files (over 4GB), your Quest’s storage type (FAT32 vs exFAT) may matter.
Mac’s energy saver settings — prevent your Mac from sleeping during big file moves.
Heads Up:
If you find yourself running out of space quickly, exploring external storage solutions for Meta Quest 3 can save you from constantly juggling files.
Once you tackle these common issues, file transfers become almost second nature.
(And hey — you’ll feel like a low-key tech wizard too.)
Conclusion
Transferring files to your Meta Quest 3 from a Mac might seem tricky at first, but once you get past the initial setup, it becomes second nature.
With the help of tools like Android File Transfer, cloud storage services, or even advanced options like SideQuest, you have multiple ways to move your favorite media, apps, and games right into your headset.
And thanks to the flexibility and power of the Meta Quest 3, keeping your content fresh means you’ll get even more out of every VR session.
Whether you prefer the simplicity of drag-and-drop or the freedom of wireless transfers, the key is to stay organized — and always keep an eye on your storage needs by checking out external storage upgrades for Meta Quest 3.
Now that you know how to transfer files like a pro, it’s time to jump back into your virtual world — with everything you love right at your fingertips!
FAQ: Transferring Files to Meta Quest 3 from Mac
Can I use AirDrop to send files directly to Meta Quest 3?
No, the Quest 3 doesn’t support Apple’s AirDrop. You’ll need to use a USB-C cable with Android File Transfer or wireless methods like cloud storage.
What types of files can I transfer to Meta Quest 3?
You can transfer movies, videos (even 360° and VR videos), music files, documents, and even APK files if you’re sideloading apps.
What if I want to transfer files without a cable every time?
You can use cloud storage services like Google Drive or Dropbox. Alternatively, setting up SideQuest’s wireless modecan give you a cable-free workflow.
Why is my Mac not detecting the Quest 3?
Usually, it’s because you didn’t allow data access on the headset, you’re using a non-data USB cable, or Android File Transfer isn’t installed correctly. See our troubleshooting section for a full checklist.
Is there an easier alternative to Android File Transfer?
Not really on macOS — but if you prefer, you can manage most basic transfers via cloud services, especially for lighter files.
Related Posts


Previous Post
Next Post
Previous Post
AR3 months ago
When Does The Meta Quest 4 Come Out
Next Post
AR2 months ago
Top 5 meta quest gun controller
Recent Posts
- VR Games Showcase Summer 2025 – Biggest Quest, PSVR 2 & SteamVR Reveals
- Sharp’s Hybrid VR Glove Merges Haptics With Classic Control
- Why VR Needs More Competition & Innovation, According to Ready At Dawn’s Co-Founder
- Le Mans Ultimate Enters Full Release On PC VR
- The Pirate Republic of Nassau Review – Is This the Ultimate Pirate VR Game?